Make your own DIY Foaming Hand Soap
Years ago, I was having trouble with really dry hands, this was before my soap making days and I was just beginning my journey to a healthier way of living. I realized that the hand soap I was purchasing from the store was causing my dry hands and decided to search for a better way. It had to be easy as at the time I had many children under tow. So, here is what I found.
At first, I purchased foaming soap at the store and poured out the contents, not very frugal I realize, but the pain and discomfort it was causing me outweighed the loss of the discarded soap. So, with foaming bottle in hand, I poured in about 1/4 inch of an organic castille soap, like Dr. Bronners or Vermont Soap. Then fill the container slowly with water, if you fill too fast, you will just create a bottle of foam. You can leave it unscented or put 15-20 drops of your favorite essential oil or blend into the foaming bottle. Put the cap on and you're all set. This works like a charm and it's saved my hands and hundreds of dollars.
1 or 2 Foaming Soap Bottles
1/8 cup (approximately) of organic liquid castille soap per bottle
Water
15-20 drops of essential oil
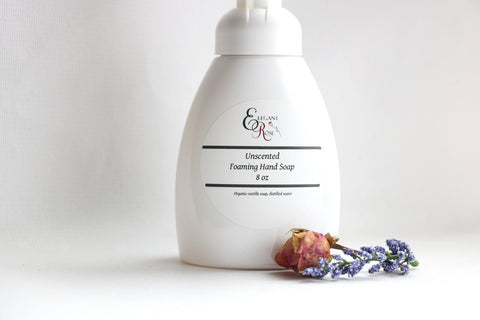
If you prefer to purchase my hand soap or my DIY Foaming Hand Soap you can do so here https://elegant-rose-boutique.myshopify.com/admin/products/9217443784
How to Organize Washi Tape
 I decided to try and organize all of my business supplies before the Holiday rush. I had a washi tape organizer that I had found at Costco, but it just didn't give me the flexibility to do what I wanted. I wanted to be able to grab a roll of washi tape and wrap whatever I was wrapping and put it back. The Costco organizer held the tape on a roll type thing and had a cute cutter on the side of the tray, basically worthless for me as the tape could not easily be removed and as you can see from the picture, it became a pile of chaos!
After much searching, I came across this amazing washi tape organizer and I am so pleased with it. Here is a photo after everything was organized neatly in my new rack. Each tape can be pulled off the shelf and put back easily.

Care to join me in getting organized? Check out http://www.organizemore.com/ for shelves to organize almost anything from ink pads to punches or ribbons! Organize More is now my go to shop on my journey to getting organized.